
Nail Sculpting: Dual Forms and Nail Architecture
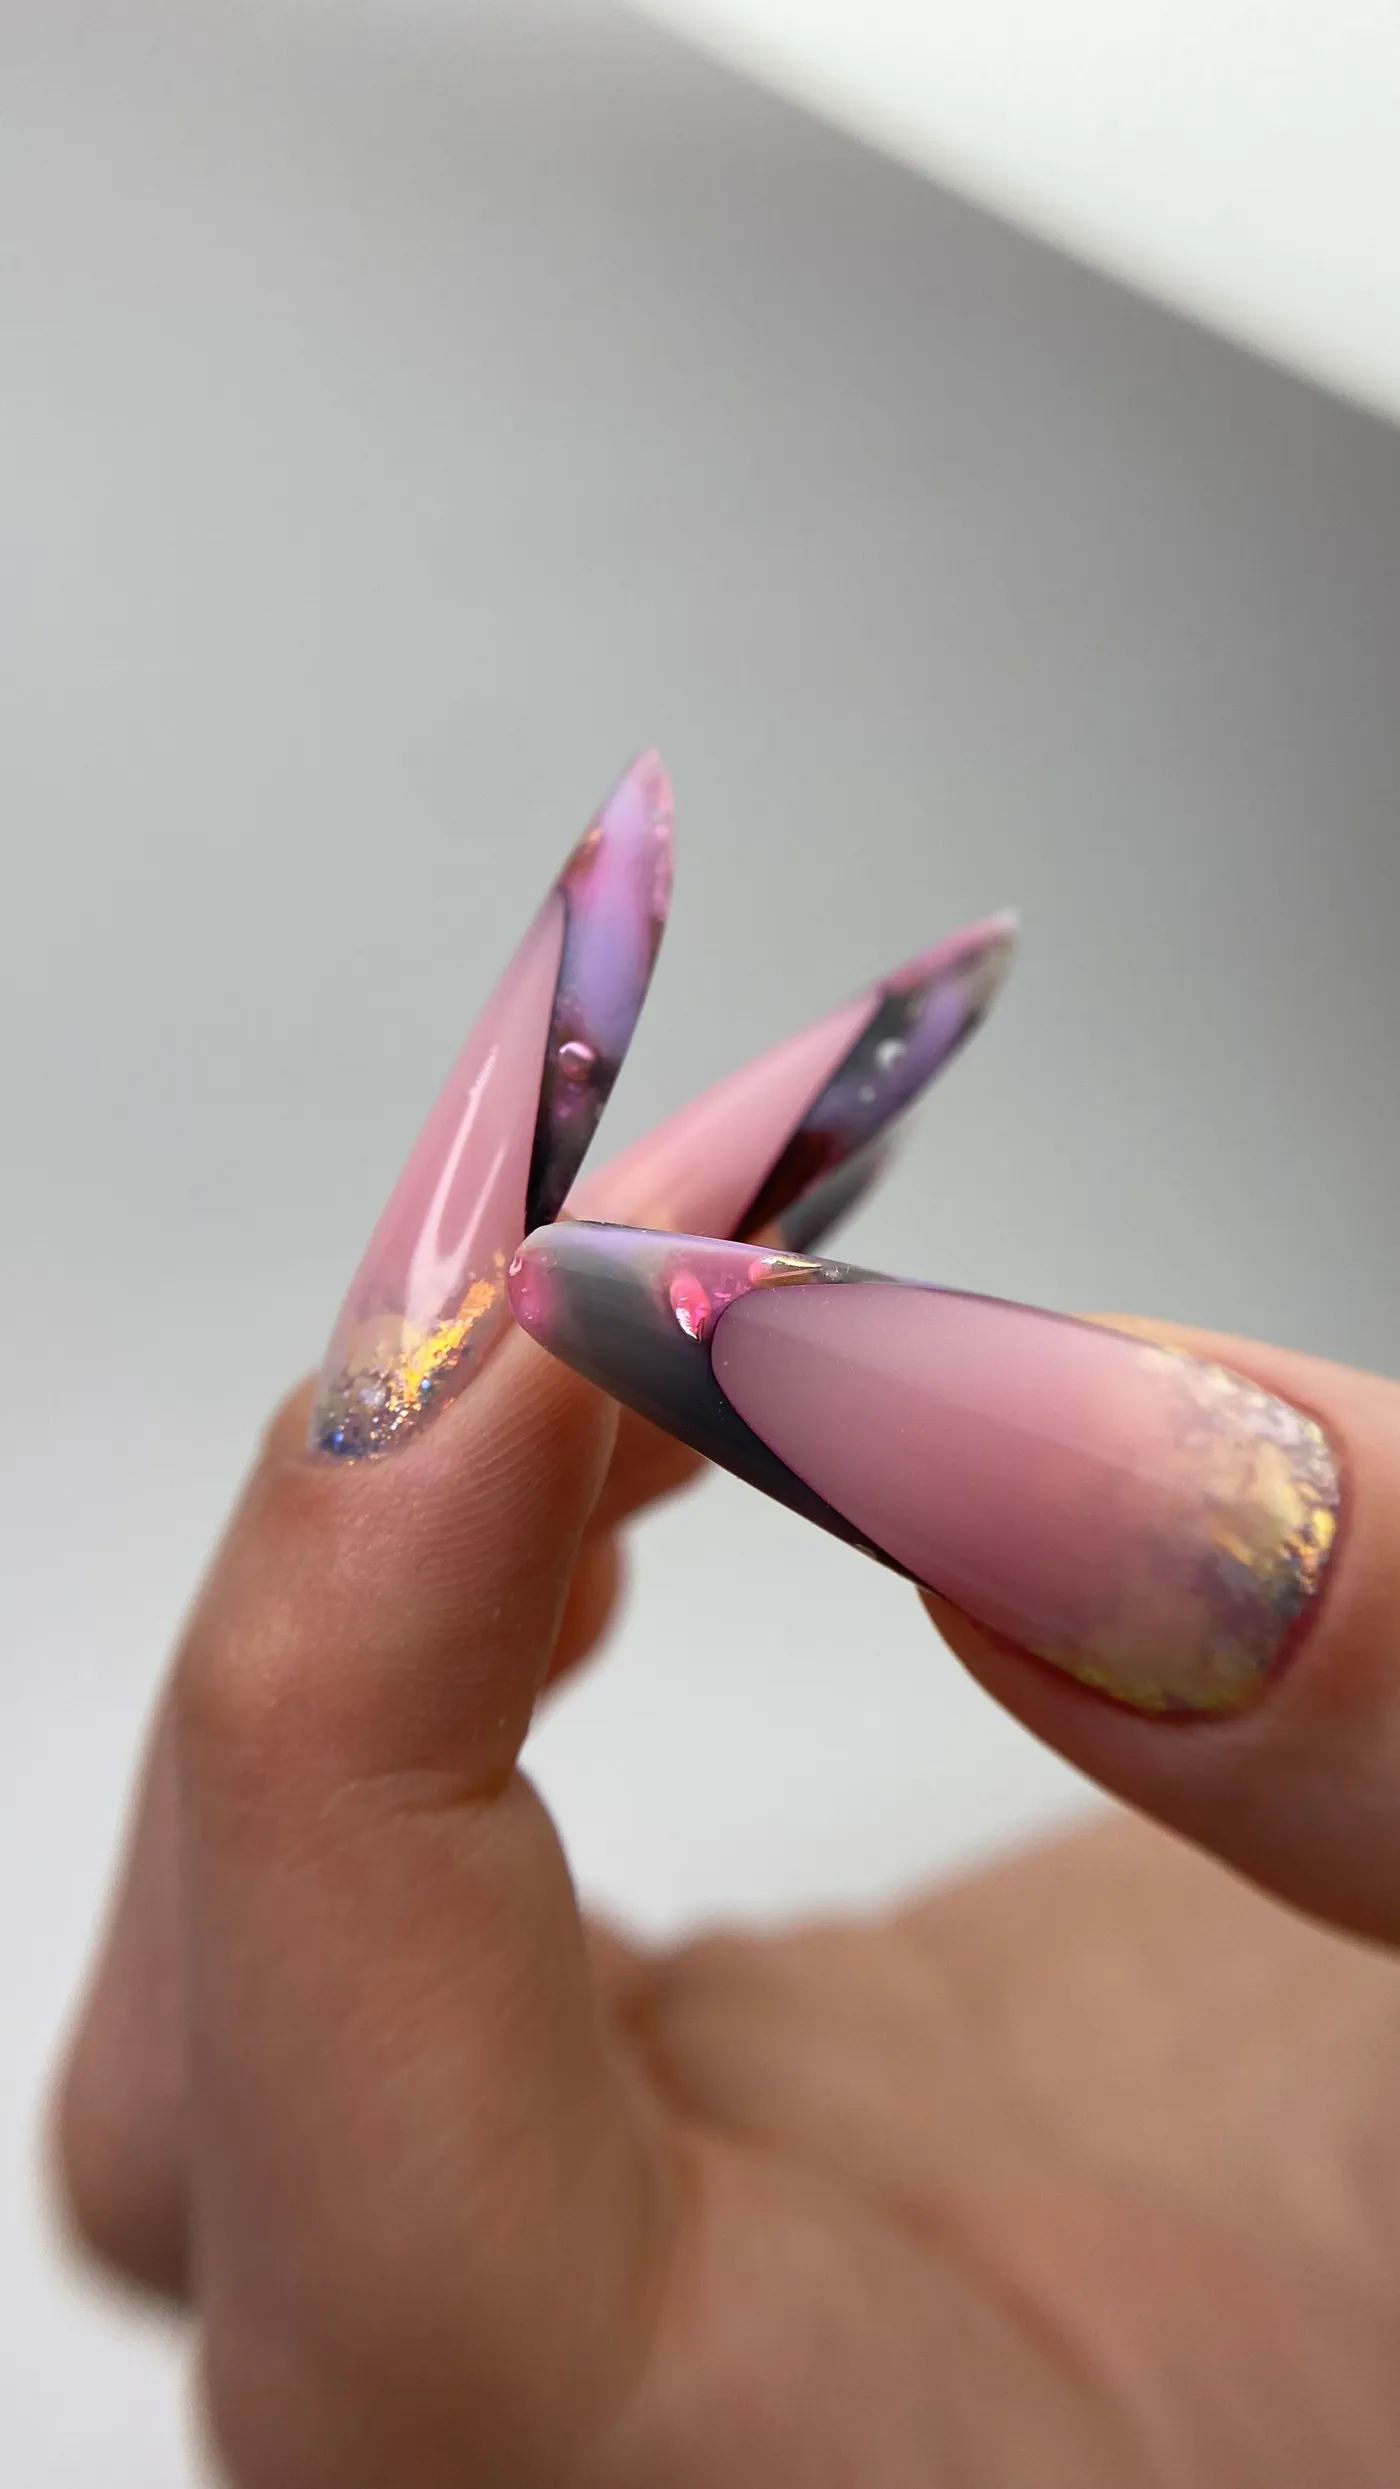
Nail Sculpting with Dual Forms: Why Proper Architecture Matters More Than a Perfect Surface
After ten years in the nail industry, I’ve learned that beautiful nail sculpting is about much more than a smooth surface, a clean shape, or a perfect reflection. Of course, those details matter, but what truly separates attractive nails from high-quality work is the structure underneath.
Sometimes you look at a finished set from above, and everything seems perfect. But as soon as you turn the hand, you notice that the free edge is too thick, the apex is incorrectly positioned, or the nail is pointing downward.
That’s why I no longer judge my work only by how beautiful the nails look immediately after an appointment. I also pay close attention to how well they’ll wear, whether they’ll maintain their shape, and how the product has been distributed.
Today, there are many different nail sculpting techniques, and one of them involves working with dual forms. They’re a useful tool that can make the process easier and significantly reduce filing time. But there’s one thing that’s easy to forget: dual forms don’t build proper nail architecture for you.
Even the best-quality forms won’t produce good results if you choose the wrong size, distribute the product incorrectly, or position the form at the wrong angle.
These are the details I’d like to share from my experience.
Why I Always Start by Looking at the Natural Nails
The first thing I pay attention to before sculpting is the natural nail itself.
Everyone has a different nail plate. Some nails are flat, others have a pronounced curve, and some grow downward or slightly to one side.
Even on the same hand, nails can be noticeably different.
That’s one of the reasons I don’t like using the exact same approach for every client.
For example, if a natural nail grows downward, simply placing a dual form in the same direction won’t give you the best result. You might achieve a beautiful surface, but the free edge will still point downward.
Sometimes technicians try to correct this by adding more gel. But that usually just makes the nail look bulky without solving the actual problem.
Instead, you need to think about how to build the correct structure, not how much extra product to add.
In some cases, adjusting the position of the dual form is enough, as long as it still provides proper contact and structural support. In other situations, a different sculpting technique may be the better choice.
Over the years, I’ve learned that knowing which technique to use is much more valuable than trying to make the same method work for everyone.
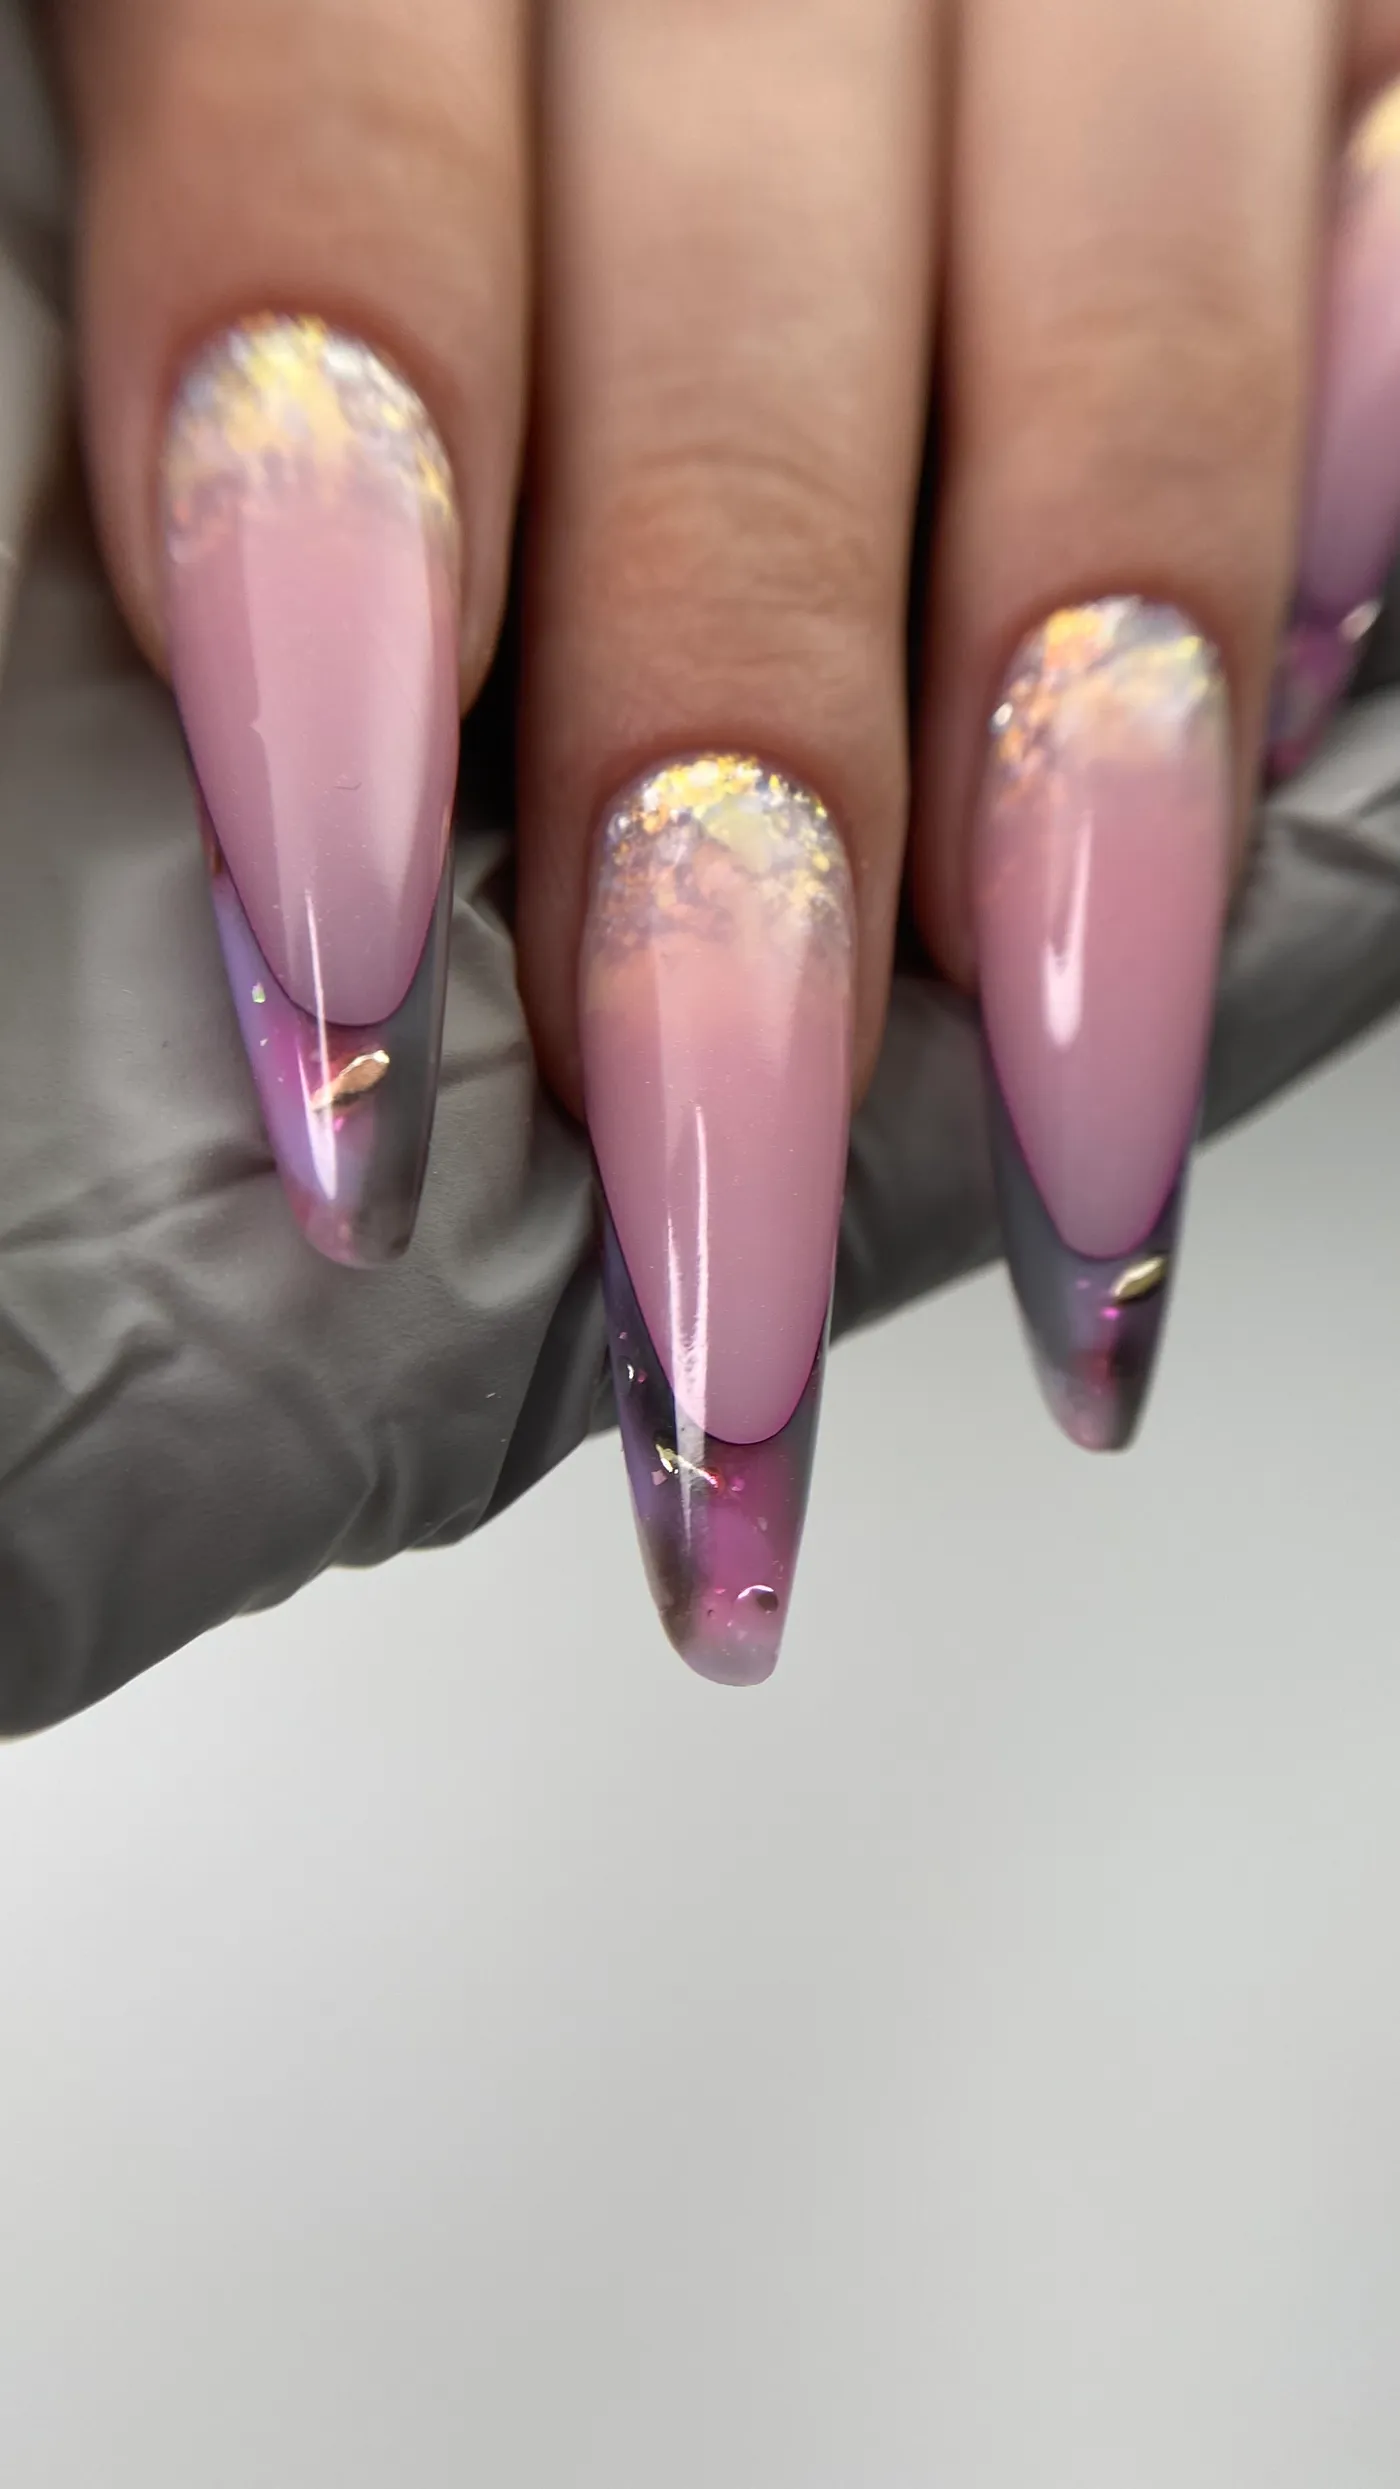
The Dual Form Should Fit the Nail, Not the Other Way Around
I think choosing the right dual form is one of the most underestimated parts of the process.
Technicians often focus on width, but there’s much more to consider.
You also need to look at the transverse curvature, the lengthwise profile, and how the form sits against the natural nail.
Imagine working with a flat nail and a dual form that has a very pronounced curve. If you try to press it down too firmly, the gel may not distribute the way you intended.
You could end up with too much product in one area and not enough in another.
That’s why I prefer to test the fit before adding any product.
It’s a simple step, but it helps you identify potential problems before they happen.
If the form is too narrow, it can distort the sidewalls. If it’s too wide, it can leave unnecessary bulk along the edges. And if the curvature doesn’t match, achieving the right architecture becomes much more difficult.
I’d rather spend a little extra time choosing the correct form than spend much longer fixing mistakes with a file.
It’s Not About How Much Gel You Use, but Where You Place It
This is probably one of the most important principles I follow in my work.
I’ve seen thick nails that still had poor architecture. And I’ve also seen beautifully thin, natural-looking enhancements that were strong because the structure was built correctly and the product was suitable for the length.
That’s why I always focus on product distribution.
Around the cuticle, there shouldn’t be unnecessary bulk. The transition between the enhancement and the natural nail should look smooth.
Moving toward the center, you need to build the structure according to the nail’s length and the stress it may experience.
The apex is especially important.
I often notice that technicians think of the apex simply as the highest point of the nail. Some believe that the higher the apex, the stronger the enhancement will be.
But it’s not that simple.
A high apex alone doesn’t guarantee strength. What matters is where it’s positioned, how the product is distributed around it, and whether the entire structure suits the chosen shape.
For example, a long almond nail and a short square nail can’t be built in exactly the same way.
A longer free edge creates different mechanical demands, so the architecture needs to account for that.
At the same time, I don’t like nails that look overloaded with product.
I prefer clean, natural-looking enhancements without unnecessary thickness, but with enough structural support.
To me, finding that balance is one of the most important skills a nail technician can develop.
Applying the Dual Form: Where Things Can Easily Go Wrong
You can choose the perfect form and distribute the gel correctly, but still ruin the result during placement.
This happens quite often with dual forms.
For example, if you press the form too firmly against the natural nail, the gel starts to move. The apex you carefully created inside the form can shift or become almost completely flattened.
Product can also be pushed toward the cuticle or sidewalls.
That’s why controlling pressure is so important.
I always recommend checking the nail from different angles before curing.
Is the form positioned correctly? Has the free edge shifted? Is there still enough product in the areas that need support?
And, of course, it’s important to check whether any gel has touched the skin.
I pay particular attention to this because repeated skin exposure to uncured gel products can lead to allergic sensitization.
It’s much better to correct everything while the product is still uncured.
Sometimes a few extra seconds of checking can prevent much bigger problems later.
Why the Side Profile Matters So Much to Me
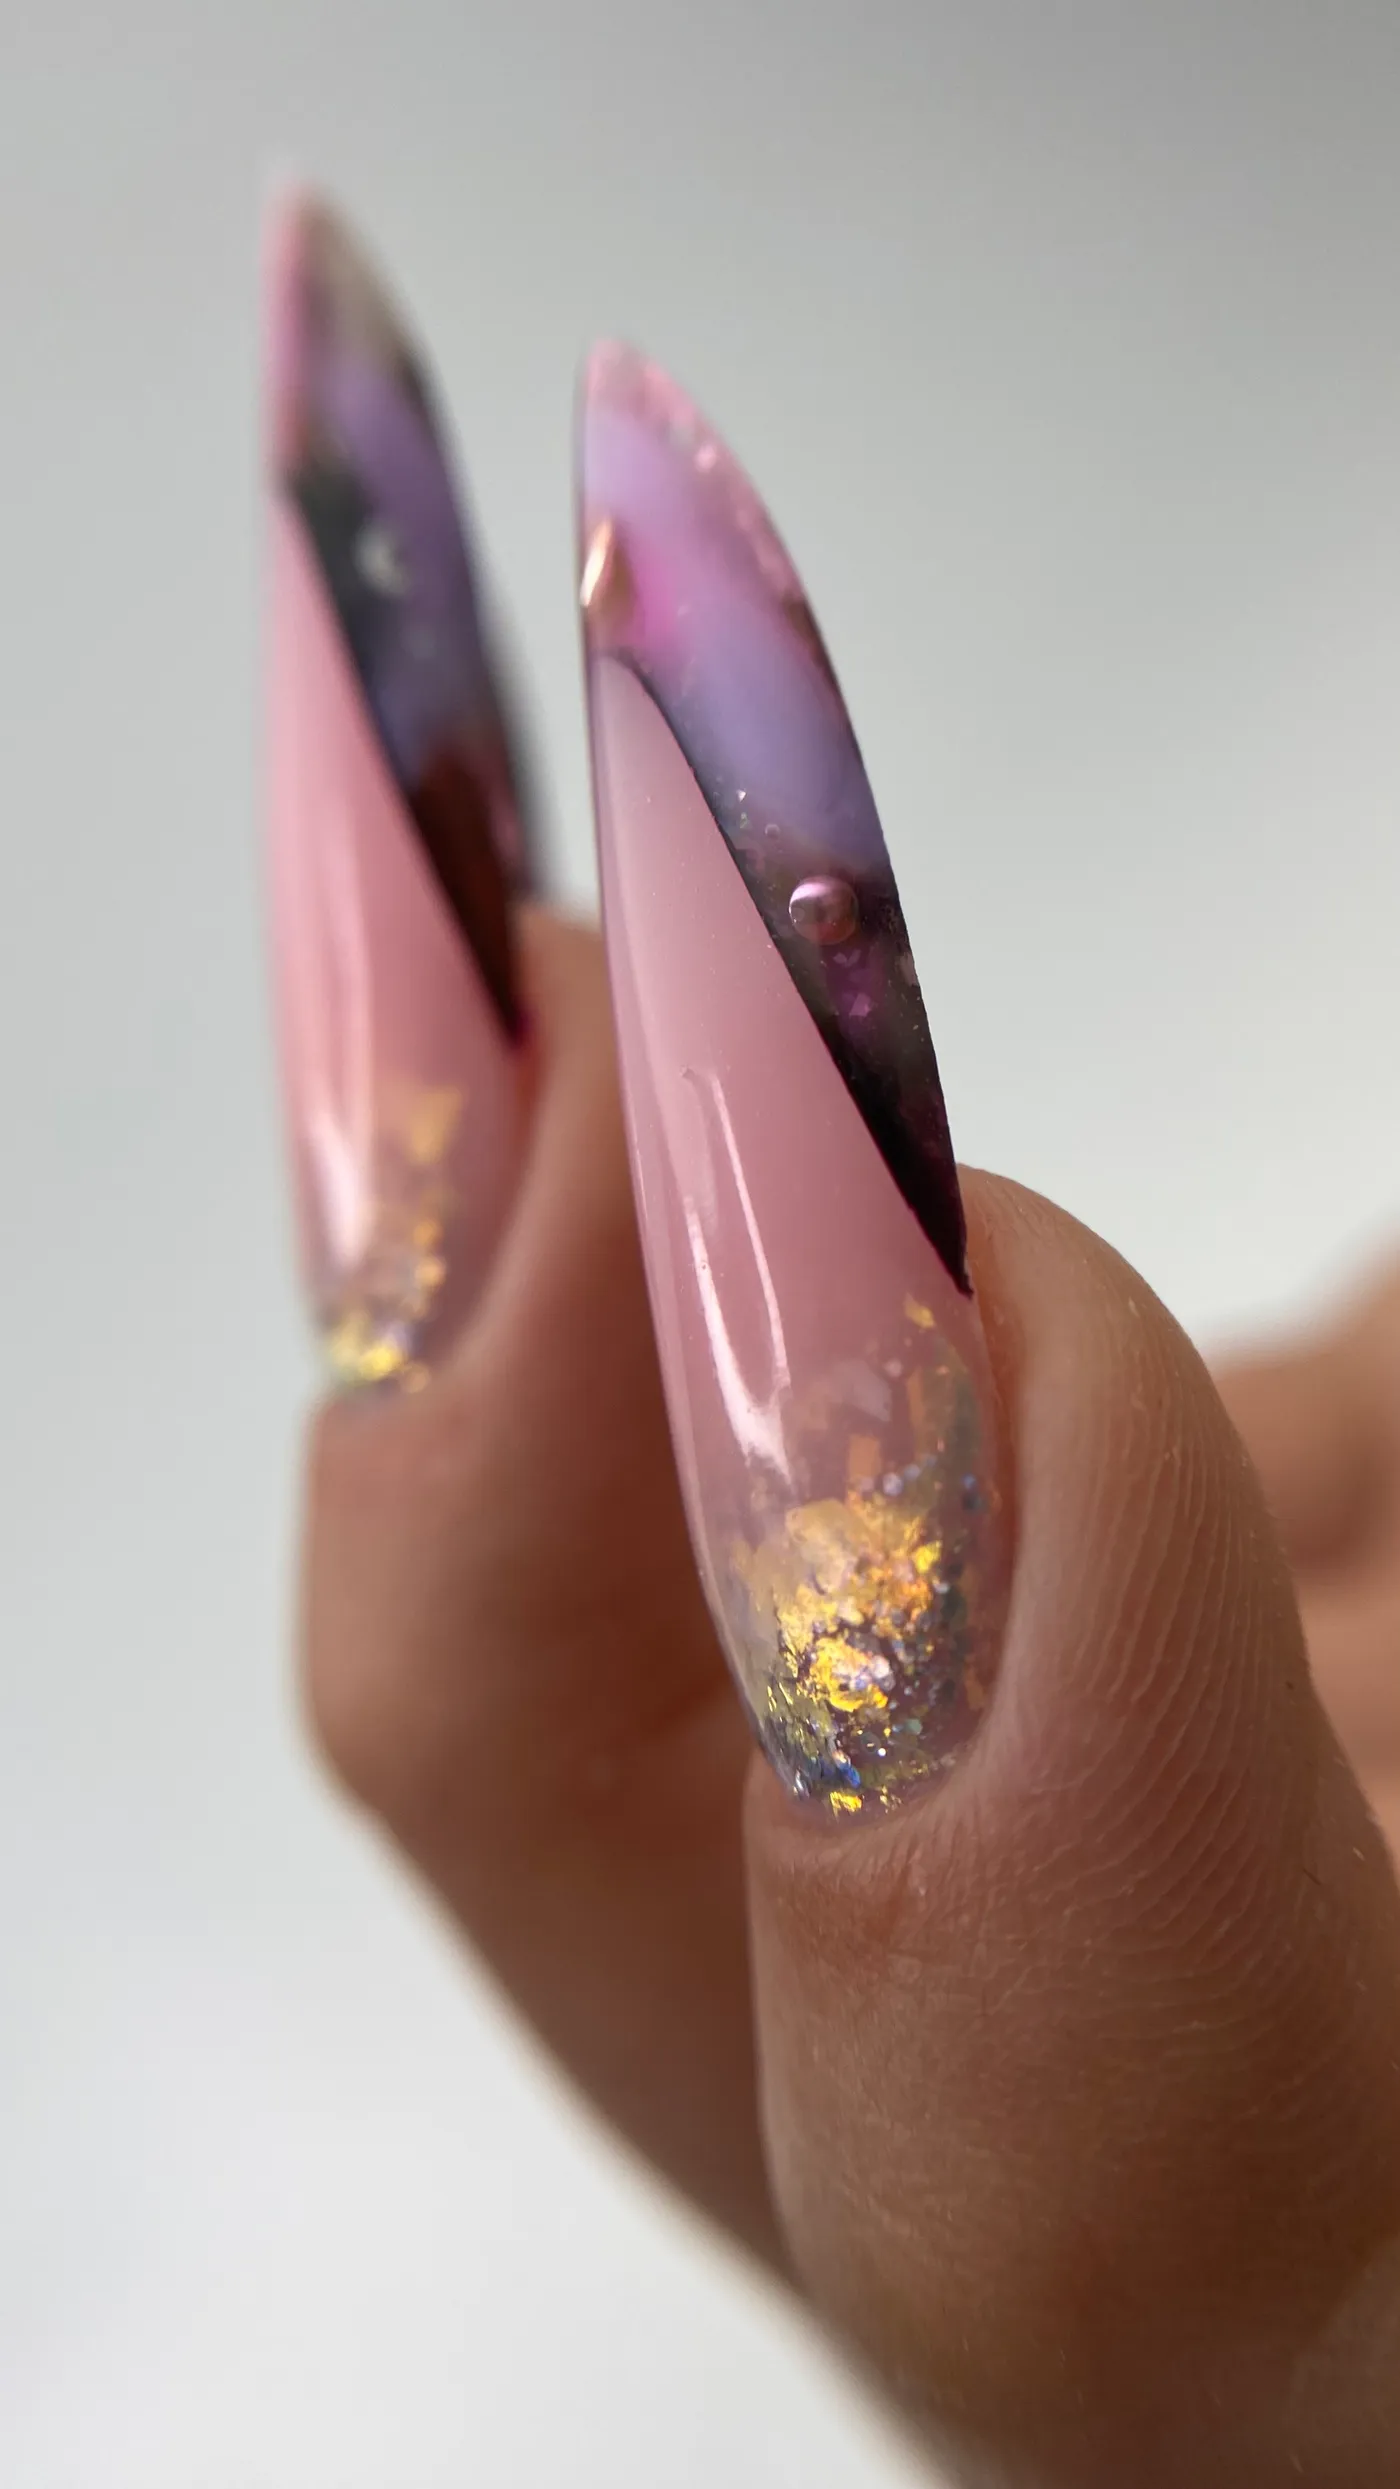
If someone asked me which angle reveals the most about the quality of nail sculpting, I’d definitely mention the side profile.
Of course, the top view helps us evaluate the shape, symmetry, and sidewalls. But the side profile reveals details that aren’t visible from above.
You can see whether the apex is positioned correctly, how smoothly the product has been distributed, whether there are abrupt transitions, and which direction the free edge is pointing.
This is especially noticeable on downward-growing nails.
You can create a beautiful almond shape, but if you don’t correct the alignment, the nail may still look like it’s pointing downward.
I also pay close attention to the thickness of the free edge.
I don’t like when a nail looks elegant from above but turns out to be bulky from the side.
However, it’s equally important not to go too far in the opposite direction and make the free edge excessively thin.
Different lengths and shapes have different structural requirements.
That’s why I always evaluate the entire nail instead of focusing on achieving a particular thickness in just one area.
The Less You Have to Fix with a File, the Better Your Preparation Was
I like to create most of the nail’s structure during product application.
Of course, final filing is necessary. It helps refine the shape and correct small imperfections.
But if you have to file away a large amount of gel after removing the dual form, it’s worth asking why.
Maybe too much product was applied. Maybe the form didn’t fit properly. Or perhaps too much pressure was used during placement.
One of the biggest advantages of dual forms is that they can create a smooth surface and reduce filing time.
But to achieve that, you need to control every step leading up to it.
There’s another detail I’d like to mention.
In an effort to create slimmer, more elegant nails, some technicians file the sidewalls too aggressively.
This is especially risky around the natural nail’s lateral stress points.
Removing too much material from these areas can weaken the nail and compromise its natural support.
I believe good architecture should come from proper product placement, not from constantly filing away excess material.
Why I Don’t Believe in Using the Same Gel for Every Nail
Over time, I’ve realized how much the final result depends on the properties of the product.
Different gels have different consistencies, self-leveling properties, rigidity, and behavior after curing.
For example, a very fluid gel may work beautifully with one technique but become difficult to control inside a dual form.
It can start moving before you’ve even positioned the form correctly.
Thicker gels can offer more control, especially when you’re trying to create a specific structure.
But that doesn’t mean thicker gel is always better.
It depends on what you’re trying to achieve.
I recommend looking beyond how easy a product is to work with. Its intended use, compatibility with other products, and the manufacturer’s instructions are just as important.
The same applies to curing.
When using dual forms, you need to consider how effectively the curing light can reach the gel through the form and the thickness of the product.
Some systems require additional curing after the dual form is removed.
You shouldn’t assume that a hard surface means the entire product has cured properly.
For me, quality work isn’t just about creating a beautiful shape. It’s also about following the correct application and curing procedures.
The Mistakes I Consider the Most Important
In my opinion, beginner technicians often focus primarily on how neat the finished nails look.
Of course, a clean cuticle area, a smooth reflection, and a beautiful shape are important. But some mistakes have a much greater impact on the quality of the enhancement.
One of them is incorrect product distribution.
A nail may look quite thick but still lack sufficient support in an area exposed to mechanical stress.
Another mistake is incorrect free-edge alignment.
Uneven thickness along the sides is also common, especially when the product shifts to one side during placement.
And there’s one more detail that deserves attention: the underside of the nail.
After removing the dual form, it’s important to check not only the top but also the underside of the free edge. There may be excess gel that needs to be carefully removed.
I always recommend examining the finished enhancement from three main angles: above, from the side, and directly from the free edge.
These views help reveal the actual quality of the structure.
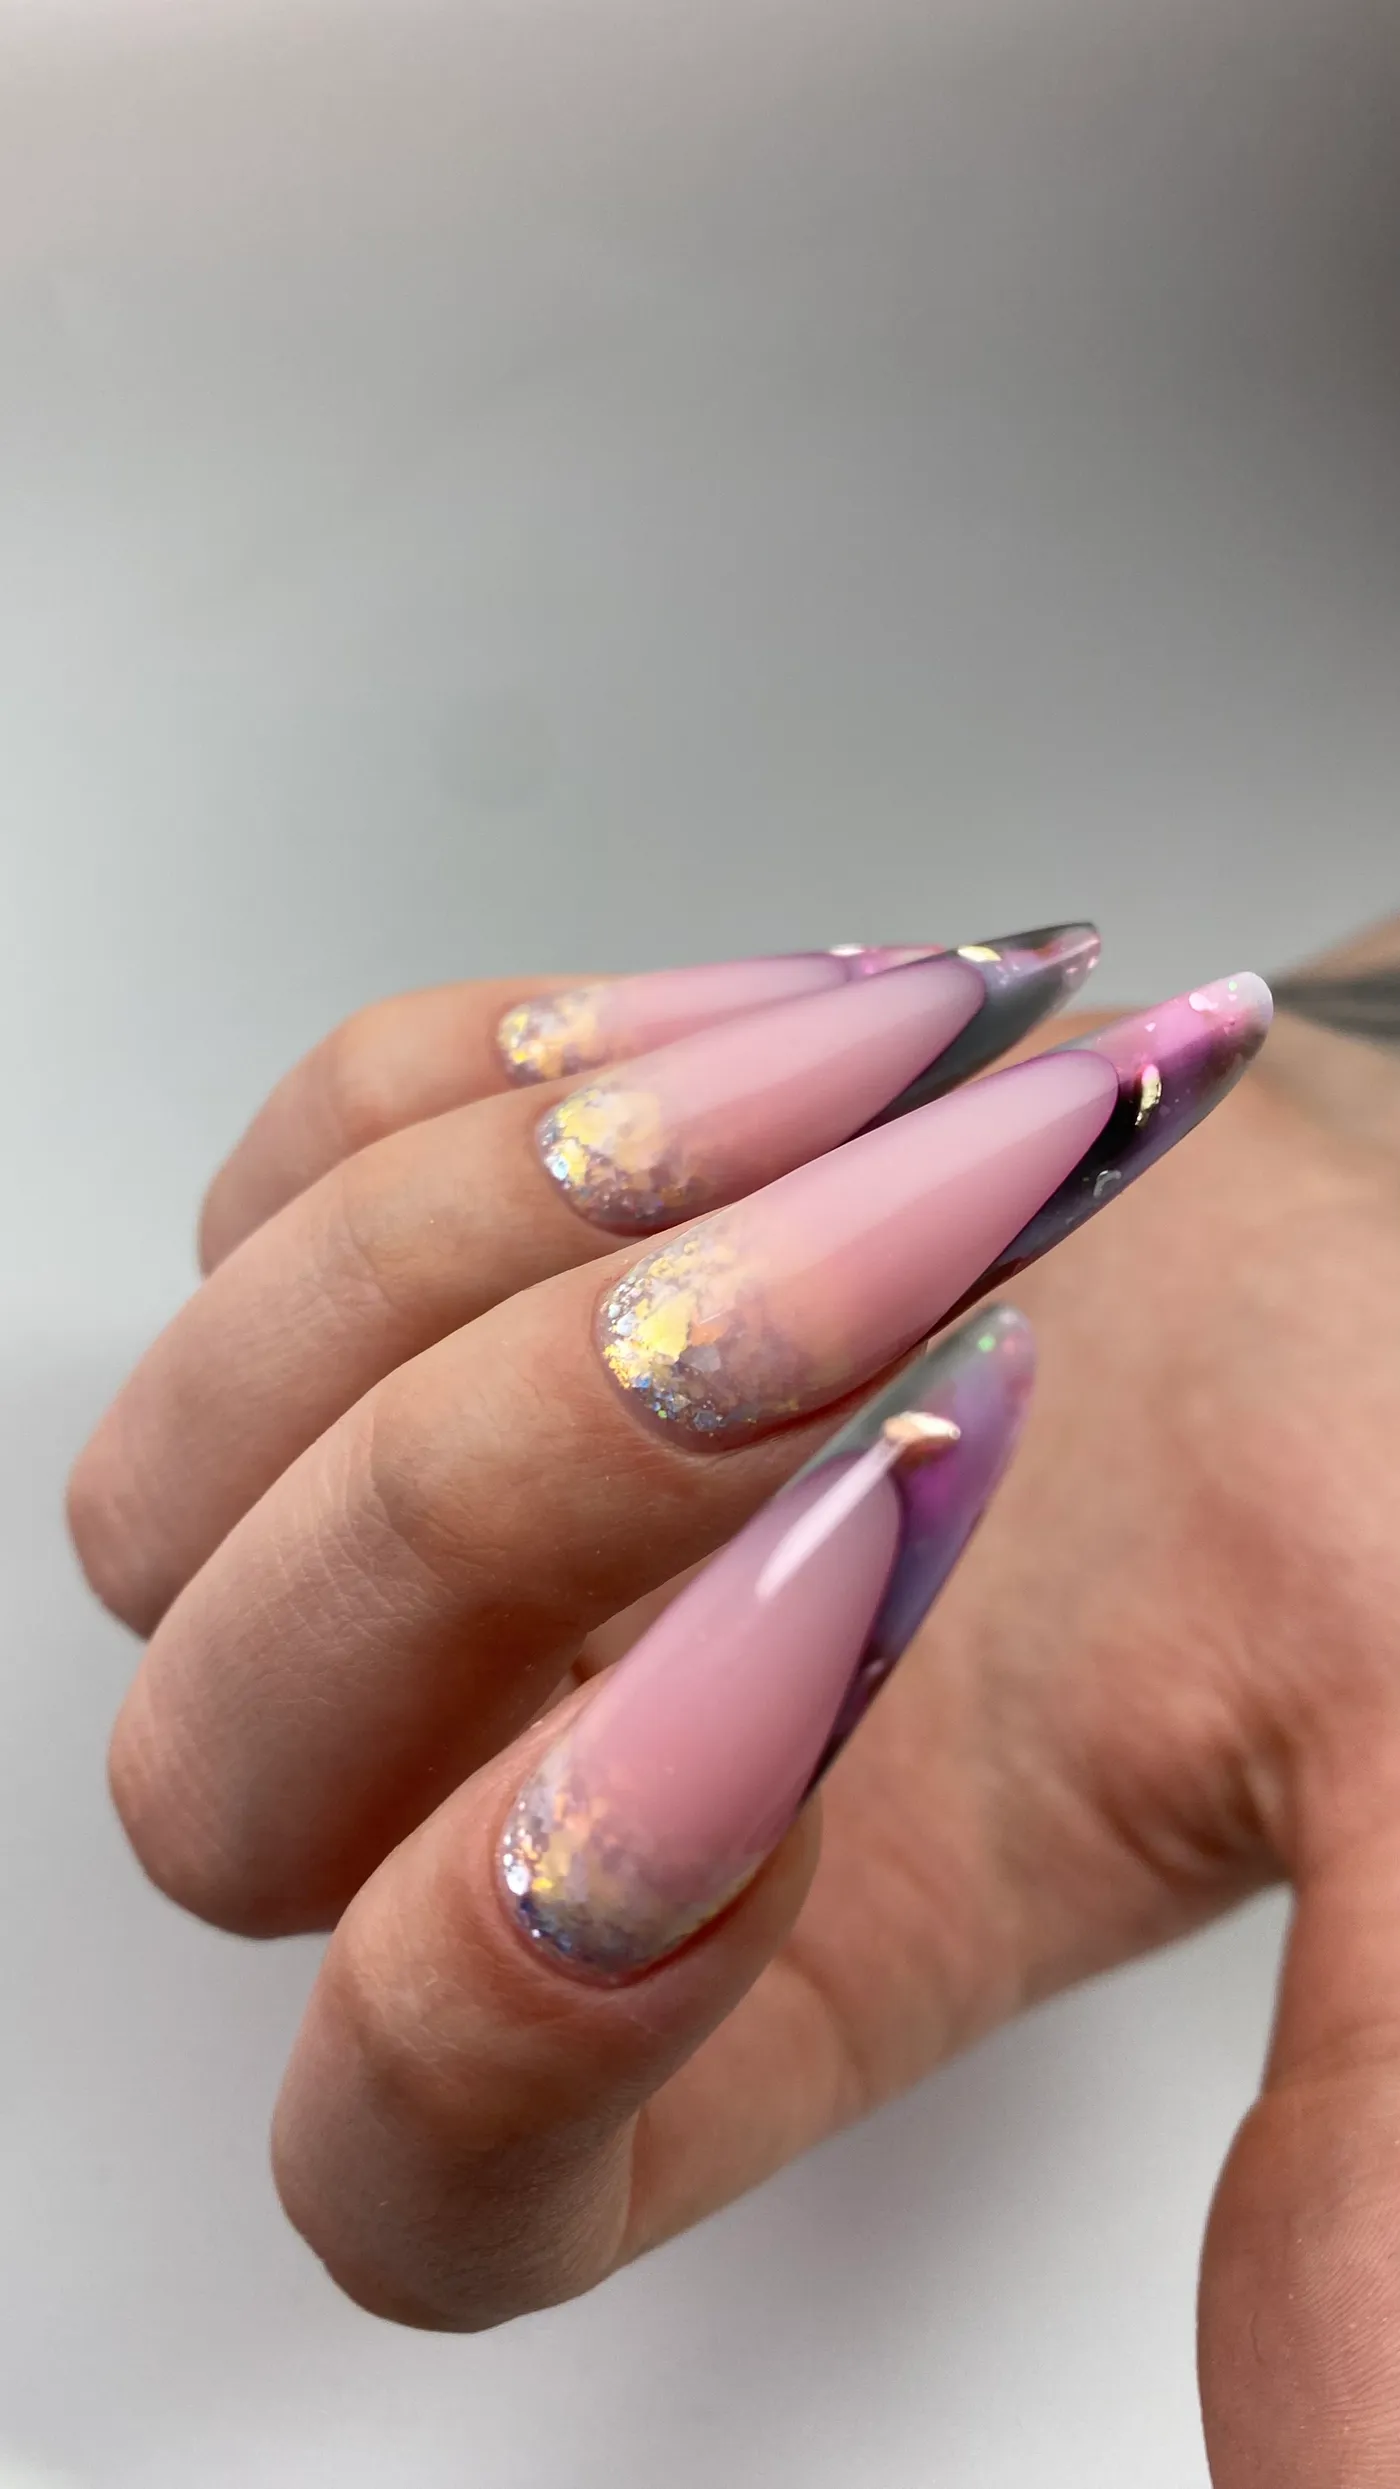
You Learn the Most When Your Client Comes Back
One of the things I value most about my work is being able to evaluate the enhancement several weeks later.
Immediately after an appointment, almost any neatly finished set can look beautiful.
But the client’s next visit tells you much more.
Has the shape held up? Is there any lifting? Have cracks appeared? How has the profile changed as the natural nail has grown?
Of course, the condition of the nails depends on more than the technician’s work. The client’s lifestyle, daily activities, and natural nail characteristics also play a role.
Still, these observations provide valuable information.
When something goes wrong, I think it’s important to understand why rather than simply fixing it during the maintenance appointment.
Maybe the product distribution needs to be adjusted. Maybe the chosen length or enhancement system isn’t suitable for that particular client.
I believe this approach is what helps us continue growing professionally.
With experience, you realize that learning a technique and repeating it many times isn’t enough.
You also need to analyze the results, recognize your own mistakes, and be willing to change your approach when necessary.
What Quality Nail Sculpting Means to Me
My understanding of beautiful nails has changed quite a bit over the years.
Today, what I appreciate most is clean, thoughtful nail architecture.
I love when nails look lightweight, have balanced proportions, and don’t appear overloaded with product.
But I would never sacrifice structural integrity just to make an enhancement look thinner.
That’s why an individual approach is so important to me.
I don’t believe there’s one perfect form, one universal gel, or one technique that works for absolutely everyone.
Dual forms can be an excellent tool when you understand what they can and cannot do.
But ultimately, it’s not about the tool.
It’s about recognizing the natural nail’s characteristics, understanding the structure you need to create, and making the right technical decisions throughout the process.
If I could give one piece of advice to technicians who want to improve their sculpting skills, it would be this: don’t judge your work only by a perfect reflection or a beautiful photograph taken from above.
Look at the entire structure. Pay attention to the details, observe how the nails perform during wear, and try to understand the reason behind every mistake.
Because to me, that’s what separates a technician who simply knows how to work with a product from a professional who truly understands nail sculpting.

Altri articoli
Как создать конкурсную работу по наращиванию ресниц, которая претендует на призовое место
Итак, вы решили участвовать в международном чемпионате со своими работами по наращиванию ресниц. Кажется, что вы уже имеете большой опыт, обширную клиентскую базу и…
Весільний макіяж для блондинок
Весільний макіяж для блондинок: на що звертають увагу судді онлайн- чемпіонатів і як готують свої роботи переможці Практичний досвід по обидва боки
Свадебные и вечерние прически: тренды
Свадебные и вечерние прически: тренды
Commenti (0)
Ancora nessun commento: sii il primo!